Whipped Back Stitch

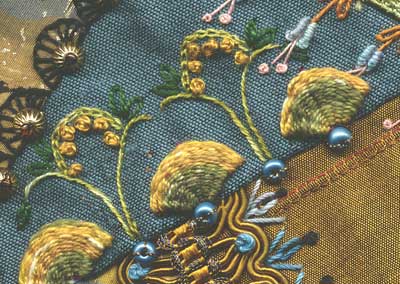
Whipped back stitch creates a slightly raised line which is simple, quick and easy to work.
 Work
a foundation row of back stitches. Make each
stitch slightly longer and looser than usual.
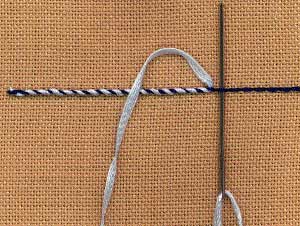
Next whip the row. You do this by bringing the needle up from the foundation fabric, take the thread over the top and pass the needle under the first back stitch. Do not pick up any of the fabric as you whip.
Repeat this action until you have moved the length of the row.
Use a blunt-ended tapestry needle, for the second thread so that you do not split the foundation threads as you sew.
If a heavy, thread in the same colour as the foundation stitching is used, the line you sew will look like a fine cord. This is also useful if a raised line is required on a delicate fine fabric which can not accept a heavy thread through the weave. This stitch can also be worked with variations of contrasting colour producing a candy cane effect or a lightly textured thread. It is an easy, quick stitch to work making it ideal for use in children's sewing projects and suitable for beginners. Lettering and motifs tight curves are effective using this stitch.
